After seeing Renee’s and Lin’s achievements with crumble bigas, I wished to attempt them once more. I used to be particularly within the one which used each a biga and a poolish, between them together with all of the flour.
I made a decision to work with essentially the most tough flour I’ve, a stone-ground entire wheat pastry flour made by Snavely’s Mill. They solely promote wholesale; an area low cost grocery purchased some 50 lb luggage and broke them down into 4-lb sacks, which is how I bought mine. The flour has an excellent style in baked items however being a pastry flour is absolutely powerful to make a good loaf from. I’ve discovered that a mixture of half the WW and half King Arthur bread flour works higher and tastes good, however nonetheless does not make for nice breads. I believed this flour ought to make for an excellent stress check for a crumble biga.
I made a decision to make use of all of the WW flour within the biga and all of the white flour within the poolish. The poolish could be at 100% hydration and the biga at 45%, as Renee and Lin have advised. In fact, 45% may not be the most effective worth for this explicit WW, however we now have to start out someplace. I could not make all of the hydrations work out with precisely equal quantities of the 2 flours, and the WW ended up being about 58% of the overall.
Goal flour: 300g
goal hydration: 68%
Biga
——
– 175g – WW pastry stone-ground sifted #30 display screen
– 79g – water
– 0.25 – tsp yeast
Poolish
——–
– 125g – bread flour
– 125g – water
– 0.25 tsp – yeast
Add salt at remaining combine.
General hydration: (79 + 125)/(175 + 125) = 68%
From my notes:
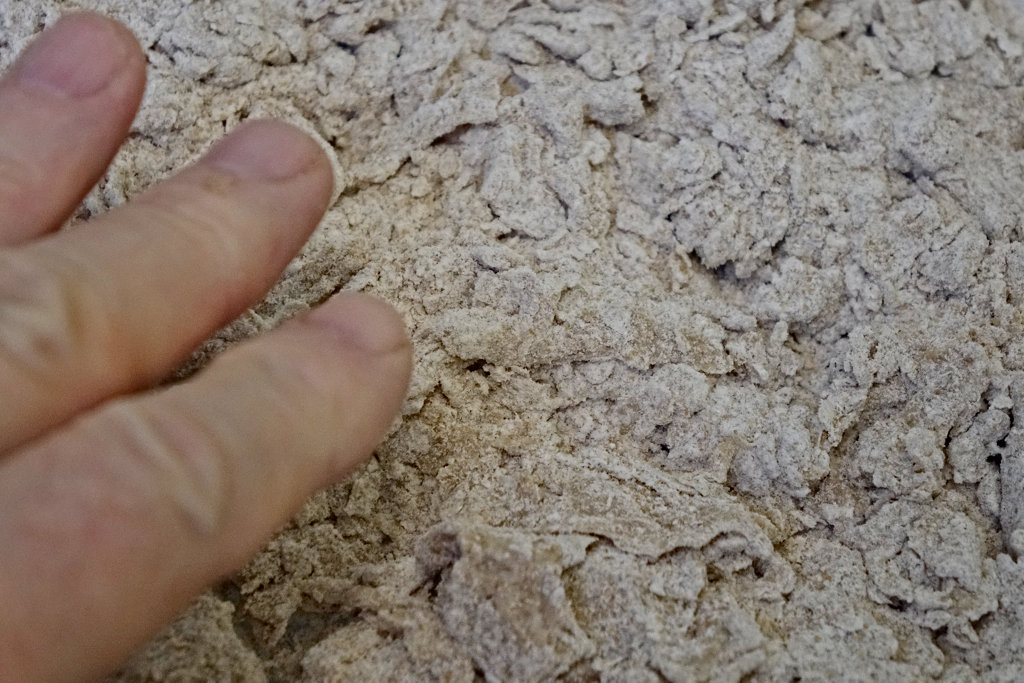
Making the crumble biga: I poured all 79g of water right into a glass baking dish and sprinkled the yeast over it. Then I added 79g of the WW flour and stirred it in gently with a small spatula. At this level the combo was fairly moist, after all. Then I added the remainder of the flour and began to work it in with out working it an excessive amount of (since one purpose is to get minimal gluten improvement). I ended up working the dough gently by hand, very like working butter into the flour for biscuits. This labored effectively and didn’t get my palms very coated with dough. I took an image of the crumbled biga at this level.
Right here I made a radical change from what everybody has advised:
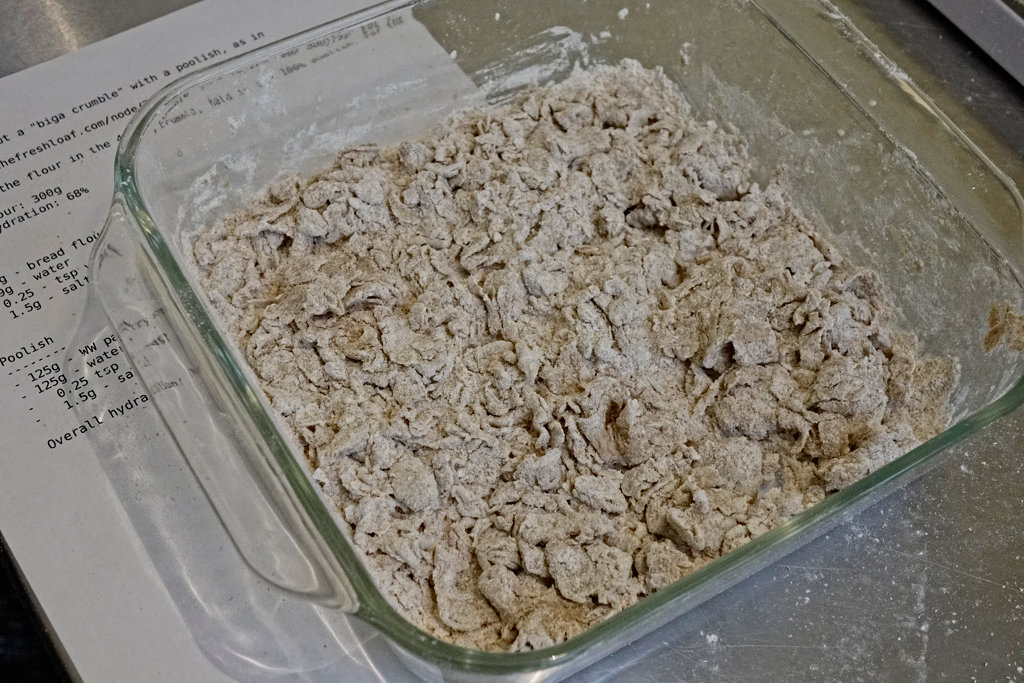
I put each preferments right into a proofer at 80°F. I fermented the poolish for five hours, It appeared properly energetic, with many bubbles. I eliminated it to the counter. I saved the biga at 80°F for a complete of 6 hours; I could not actually detect any exercise. Here’s a image of the biga at this level,
Then I mixed the 2 preferments.
The biga was very dry, and subsequent time I’d spray it with water at first of fermentation. Combining and getting the lumps out was laborious. I repeatedly squeezed the dough via my hand and finally bought the 2 elements pretty clean however nonetheless not utterly uniform. I waited 1 1/2 hours then kneaded them within the bowl. After kneading the dough appeared a bit of moist, considerably sticky, and never very robust nor elastic.
After half an hour, I did a shear-lamination model stretching session. After one other 1/2 hour, S&Fs within the bowel. At this level the dough appeared dry, cheesy not sticky, and was robust and elastic. It felt like a extra typical dough after 3 – 4 S&F periods. After one other 30 – 40 minutes the dough had risen practically double and I formed it right into a log. Proofed free-standing for ~ 1 hour. It was too late to bake so I put the loaf coated with plastic wrap into the fridge for in a single day.
The baking schedule was devised to maintain the floor of the loaf comparatively cool so long as attainable; the loaf being chilly from the fridge would assist; I suspected that the WW pastry flour would not help a lot oven spring. So the plan was to preheat the oven to a decrease temperature than regular after which to boil the baking metal to present it extra warmth.
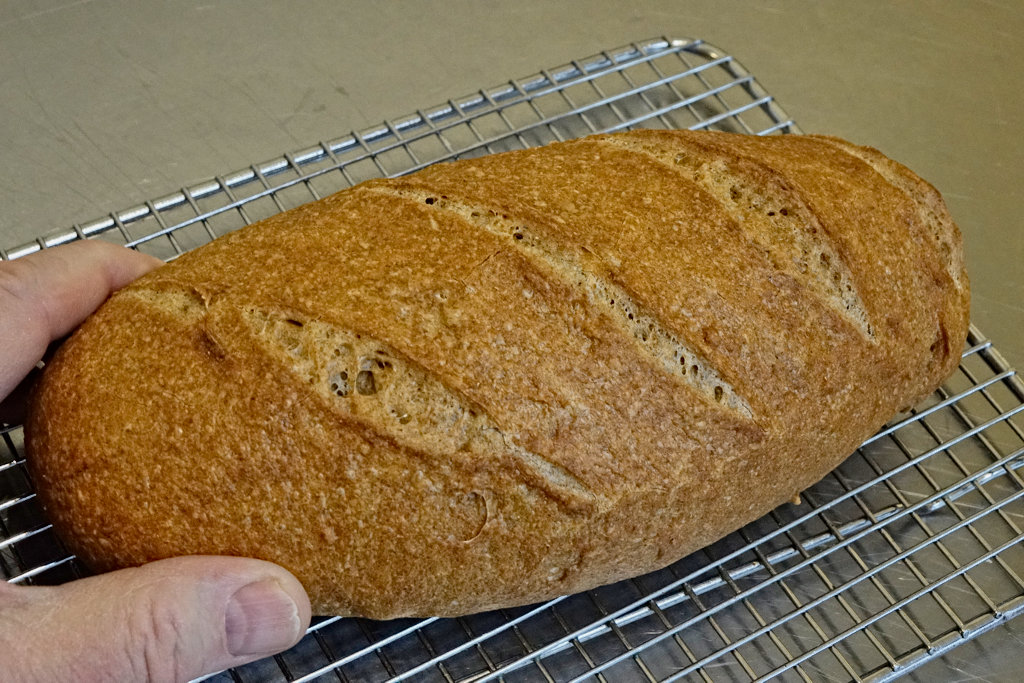
9 hours later I preheated the oven to ~410°F. Then I broiled the baking metal for six – 7 minutes and turned the temperature setting right down to 300°F. I took the loaf out of the fridge simply earlier than broiling the metal and saved it coated, Slashed, and baked with steam for 13 minutes then reset temperature to 410°F. The loaf was completed in solely 25 minutes with the inside temperature 207°F, the crust laborious to a faucet, and the colour a medium shade of yellow-brown. The underside was lighter in coloration, suggesting that I may have broiled the metal longer.
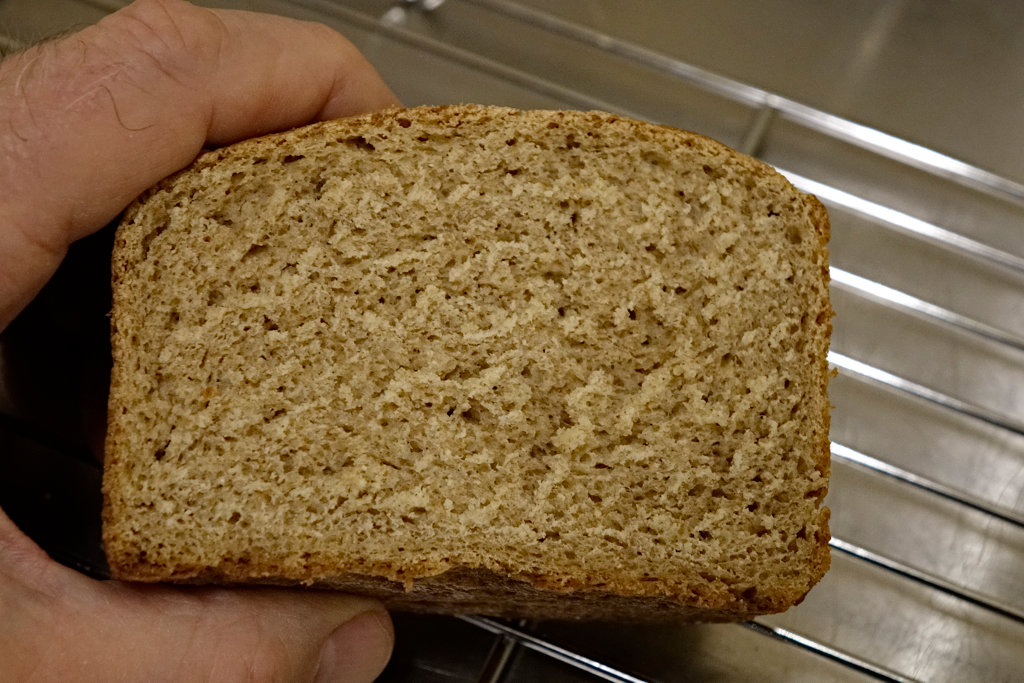
The completed loaf had risen however not sufficient to open the scores very a lot. It felt on the dense facet to heft. The crumb was not very open however probably not dense both. The crumb had a gentle mouth really feel. The flavour was very mellow with a nice richness and a touch of virtually an EEVO-like taste regardless that no oil had been used.
I sliced the loaf when it was nonetheless heat and that exhibits up within the picture of the crumb. The bread was gentle and mellow with a mildly wealthy taste. The crust was skinny with a bit of crunch. General, a suitable however not nice loaf. Maybe this can be a good because it will get with this flour.
By comparability, here’s a crumb shot of a yeasted loaf I made with the identical flour, the place I used 90% WW, 10% masa harina, and added an egg for extra construction: